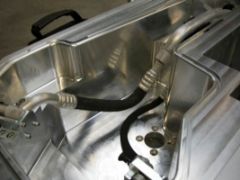
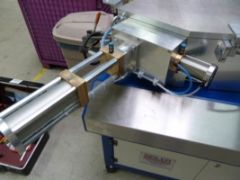
- Flexible chamber size
- Tool costs
Helium Leak Test Machines
Helium Leak Testing Machine & services
Our Products
Helium Leak Test Machines
Standard chamber systems
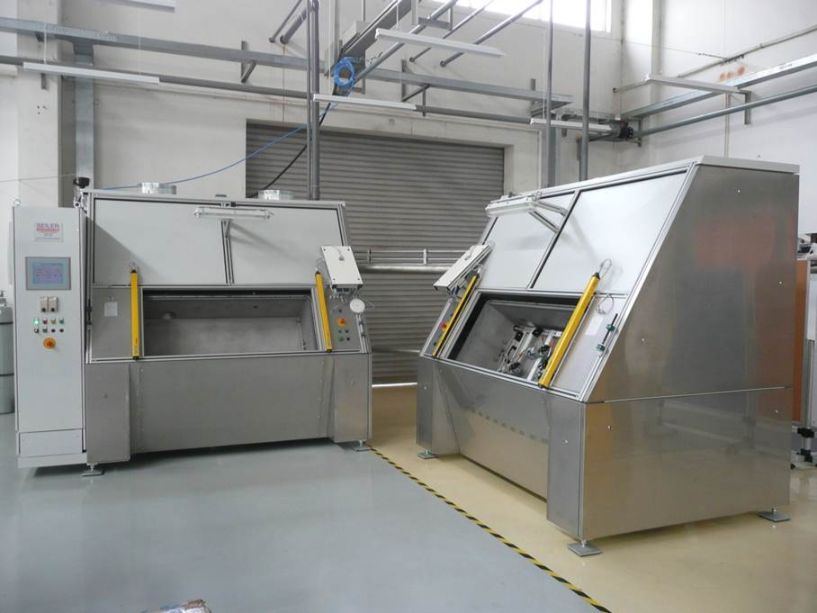
Advantages
Disadvantages
- High power consumption
- High maintenance costs Movement to another place not so easy
- Production floor space
Vacuum chamber optimised leak test system MLTS1 + MLTS2
Advantages
- Volume optimised chamber
- No flexible hoses inside chamber
- Lower invest on leak tester (around 50% as standard chamber)
- Production floor space
- Easy's movement between production places
- Low maintenance costs
- Low power comsumption
Disadvantages
- Higher tool costs
- Not so flexible for design changes

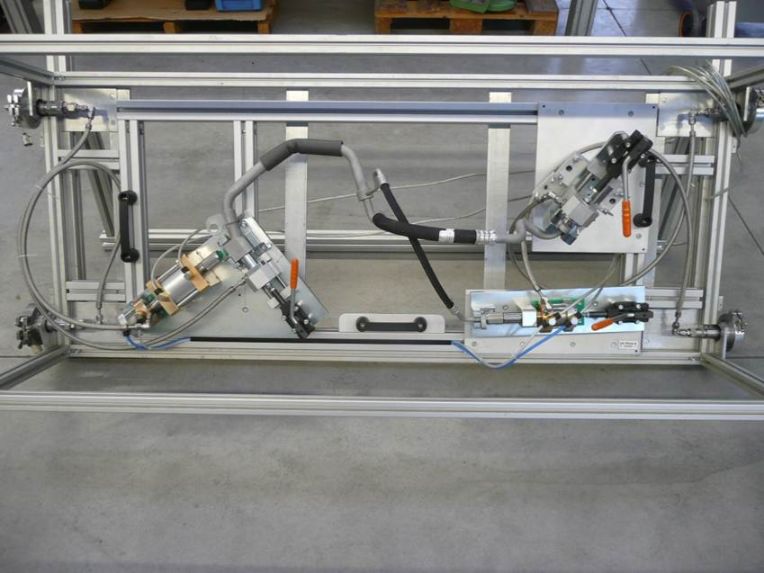
Coax tube testing(inside standard chamber with a leak rate of around 10-50g/year internal leakage)
Topics
- Tool frame located inside a standard chamber
- Three positions are fixed with quick clamps
- One connection move at the test sequence automatical without venting the chamber
- Special metallic seal inside two seal heads which will eliminate the Helium contamination from the cyle before
- Frist leak rate which is checked is the internal leak and after this the sealing head will close the connection to the internl side of the tube and the leak rate will go down and we can check the fine leak from the first circuit to outside
- After this the pressure comes to the other circuit and we measure that leak rate
Coax tube testing(inside standard chamber with a leak rate of around 50g/day internal leakage)
Topics
- Tool frame located inside a standard chamber
- Three positions are fixed with quick clamps
- The measurement of the internal leakage will be done with a vacuum increase measurement on the outside tube
- First measurement is to define the leak rate on the internal tube to outside and with the Helium pressure we can also check the internal leakage on the outside tube with a vacuum increase measurement
- After this the outside tube will be also pressurized and we check the fine leak value
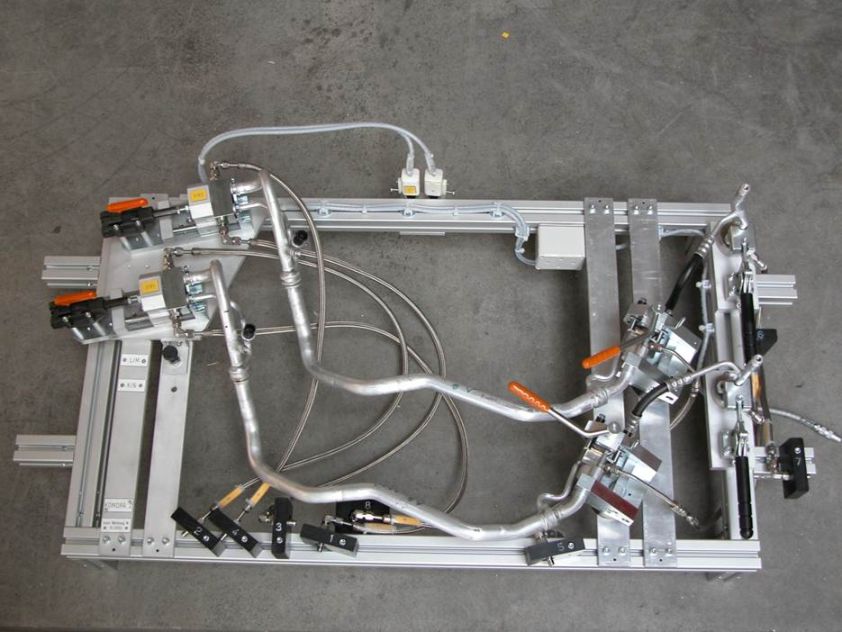
Coax tube testing(volume optimised chamber with a leak rate of around 50g/day internal leakage)
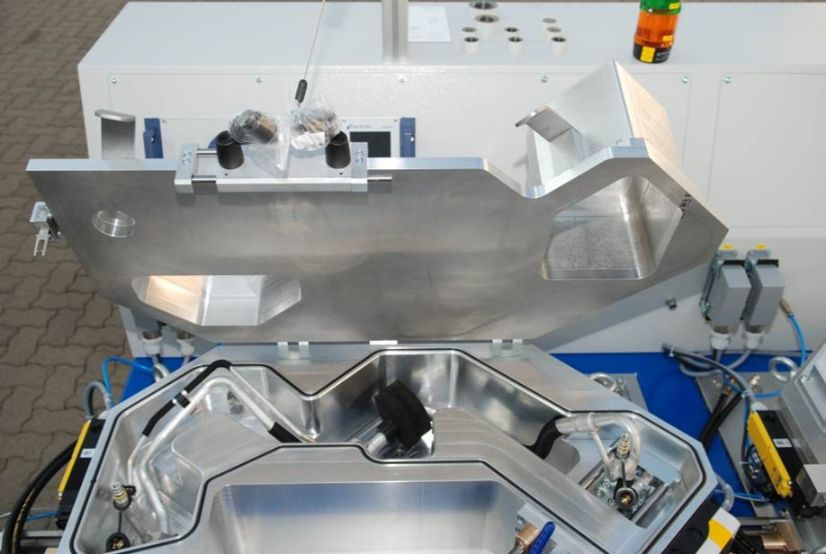
Topics
- Volume optimised chamber located on the MLTS2 system
- All connection points fixed from the outside with quick clamps
- The measurement of the internal leakage will be done with a vacuum increase measurement on the outside tube
- First measurement is to define the leak rate on the internal tube to outside and with the Helium pressure we can also check the internal leakage on the outside tube with a vacuum increase measurement
- After this the outside tube will be also pressurized and we check the fine leak value
Coax tube testing(inside standard chamber with a leak rate of around 50g/day internal leakage)
Topics
- Volume optimised chamber located on the MLTS1 system
- All connection points fixed from the outside with quick clamps
- The outside tube connection is open in the first test as the sealing piston is outside the vacuum chamber
- There is no contamination as the piston is outside and the volume is closed with a flap to the vacuum chamber
- In the first sequence we test the internal leakage and also the external leakage from the inside tube to outside
- For the second test we close automatically the piston after the flap has open and we make one more cycle
- The advantage is that we really can detect the 5g/year internal leakage but we need to make two tests
